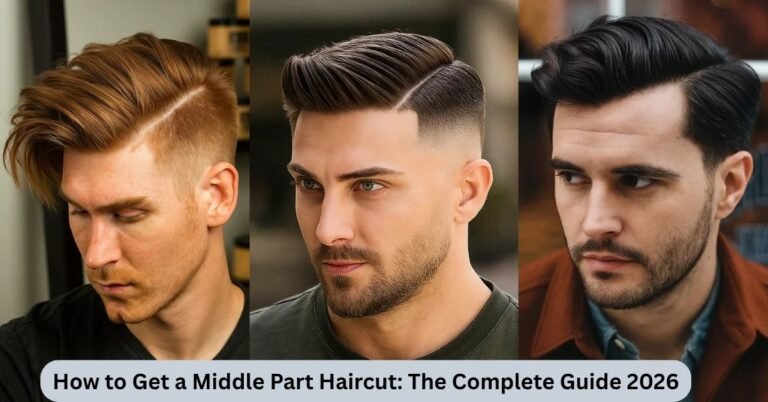
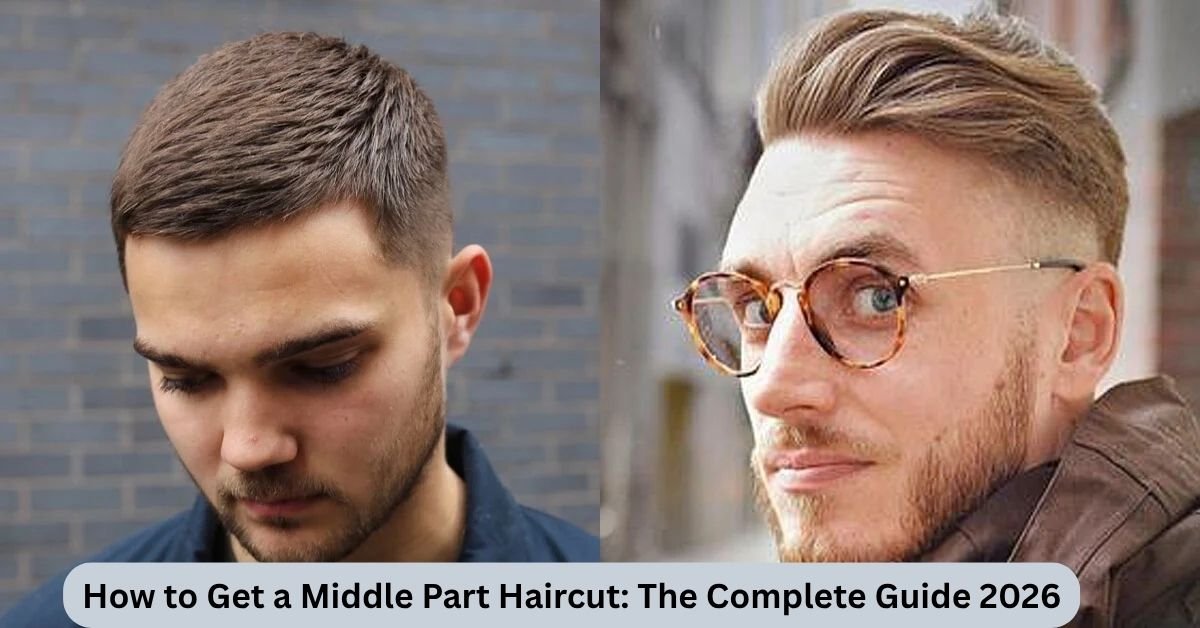
How to Get a Middle Part Haircut: 7 Easy Steps for a Perfect Look
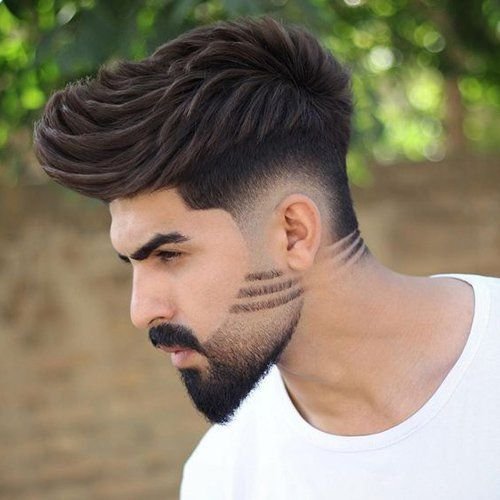
You want a clean, sharp middle part haircut. But you’re not sure where to start. Maybe your last cut grew out wrong. Maybe your hair just won’t sit where you want it.
This guide walks you through everything. From hair length to styling steps, from barber talk to fixing a stubborn cowlick, you’ll find it all here. Let’s get your center part hairstyle looking the way it should.
What Is a Middle Part Haircut?
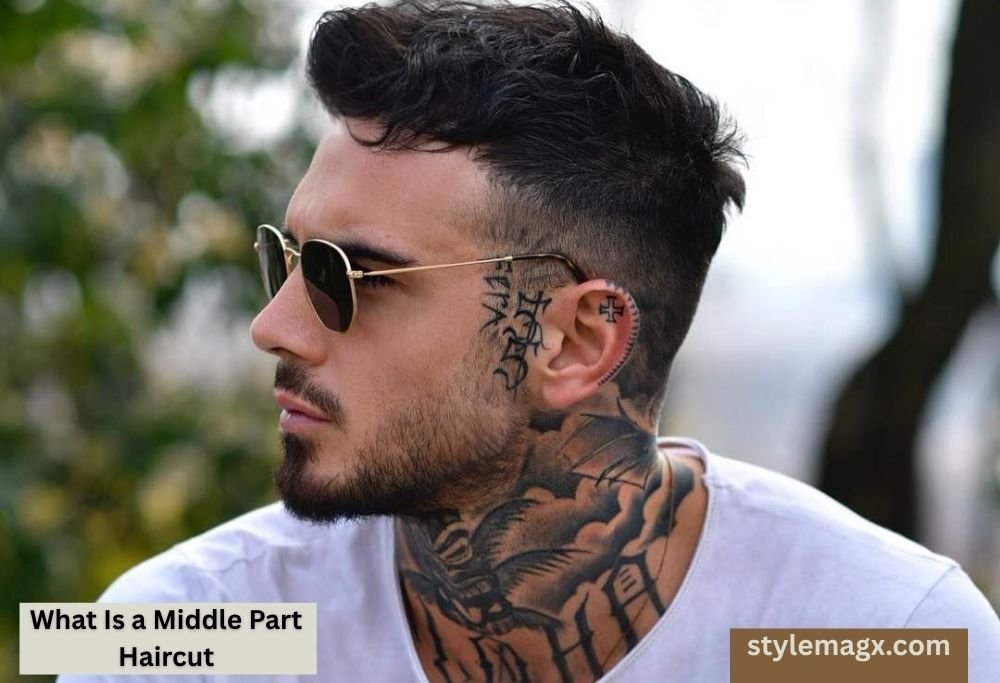
A middle part haircut splits your hair right down the centre of your scalp. Hair falls evenly on both sides, framing your face like a curtain. That’s why so many guys call it the curtains haircut or middle part curtains style.
This isn’t a new trend. The classic middle part hairstyle has been around for decades, and it keeps coming back. How to Get a Middle Part Haircut Today’s version leans more textured and relaxed than the slicked-back looks of the past. A modern middle part haircut works with natural hair volume instead of fighting it, giving you a softer, more lived-in finish.
How Long Does Your Hair Need to Be for a Middle Part?
Hair length matters more than most guys realize. You need at least four to five inches on top. That’s the minimum for a proper middle part hair style to fall correctly instead of sticking straight up.
For the full curtain effect, aim higher. Front pieces should reach your nose tip when you pull them down gently. That’s your sweet spot for a long middle part hairstyle with real movement. If you’ve got curly strands, add extra length to your target. Curls shrink once dry, sometimes by half, so what looks short wet can look much shorter dry. Fine hair benefits from a bit more length too, since it helps build visible density along the part line. A medium length middle part works fine for most guys, but going longer gives you more styling options down the road.
What Tools and Products Do You Need for a Middle Part?
Good tools make a real difference here. A fine-tooth comb gives you a precise, straight line down the centre. A round brush lifts your roots for hair volume, while a blow dryer sets the shape and direction before anything else touches your hair.
Products matter just as much as tools. The right pick depends on your hair texture, not just what smells nice on the shelf. Get this part right, and your middle part hairstyle holds all day instead of falling flat by lunch.
Essential Tools
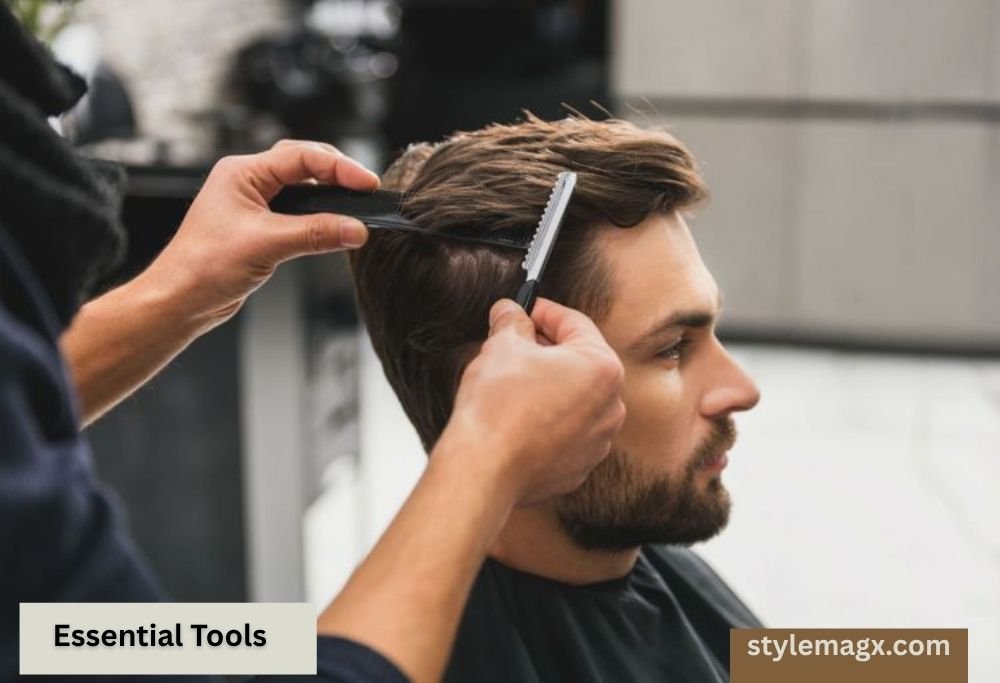
Start with a fine-tooth or rat-tail comb for a sharp, clean centre part. Add a blow dryer to set your direction and shape. A round brush lifts roots away from the scalp for lift and body, while a diffuser attachment helps wavy and curly types keep their natural pattern intact. Non-crease clips hold each side in place while you dry, and a heat protectant spray guards your strands if you’re styling daily.
Best Products for Hold and Texture
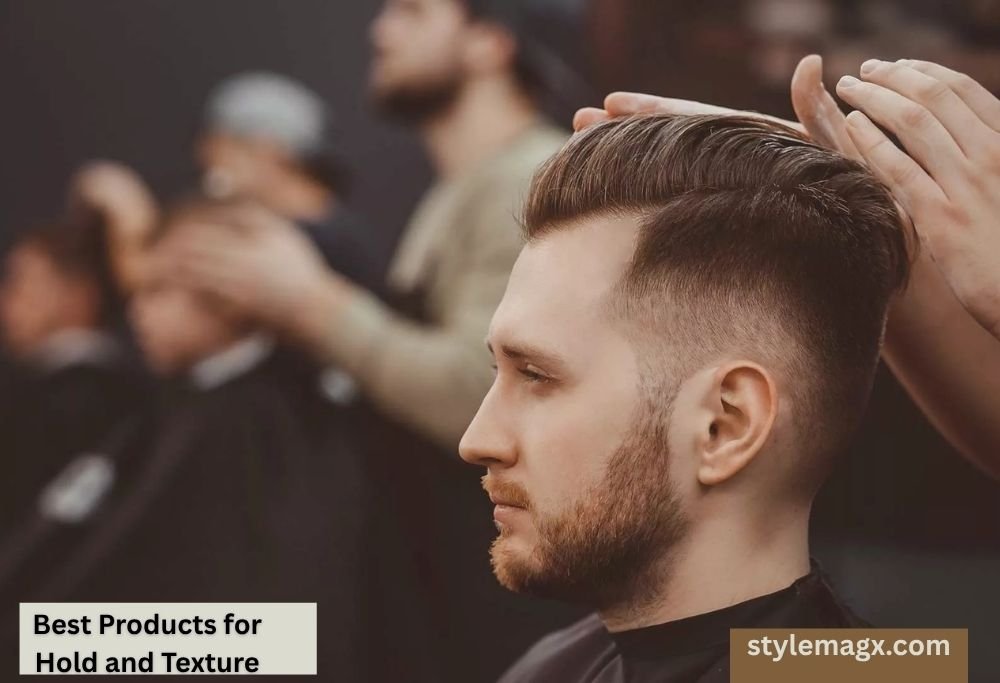
Sea salt spray adds grip and texture, and it works best on damp straight or wavy hair. Hair wax and matte clay give medium hold without shine, which suits thick hair that needs some control. Styling cream works as your flexible everyday option, while curl cream is built for wet, curly strands only. Hair mousse can add lift for fine hair, and a lightweight pomade gives a subtle sheen without weighing curtains down. Apply product after drying, not before, since blow-drying sets the shape and product locks it in place.
Read More About: 27+ Best Thick Straight Hair Haircuts for Men to Try in 2026
| Hair Type | Best Product | When to Apply |
| Straight | Matte clay, sea salt spray | After drying (clay), before drying (spray) |
| Wavy | Sea salt spray, lightweight pomade | Damp hair, before diffusing |
| Curly | Curl cream | Wet hair, before diffusing |
| Thick | Hair wax, styling cream | After drying |
| Fine | Hair mousse, texture powder | Roots, after drying |
How to Get a Middle Part Haircut: Step-by-Step Styling
Every middle part haircut tutorial starts the same way. Towel-dry your hair until it’s damp, not soaking. Wet hair takes direction well, but soaked hair just goes wherever gravity pulls it. Comb everything straight back first, then line up your comb with the bridge of your nose and slide it back to find your centre.
From there, blow-dry one side fully before moving to the other. This keeps both sides symmetrical instead of lopsided. Point the airflow down and outward, lifting roots with your round brush as you go. Once both sides are dry, work a small amount of styling cream through the mid-lengths and ends, skipping the roots to avoid grease. Finish by shaping with your fingers for that natural curtain flick.
Straight Hair
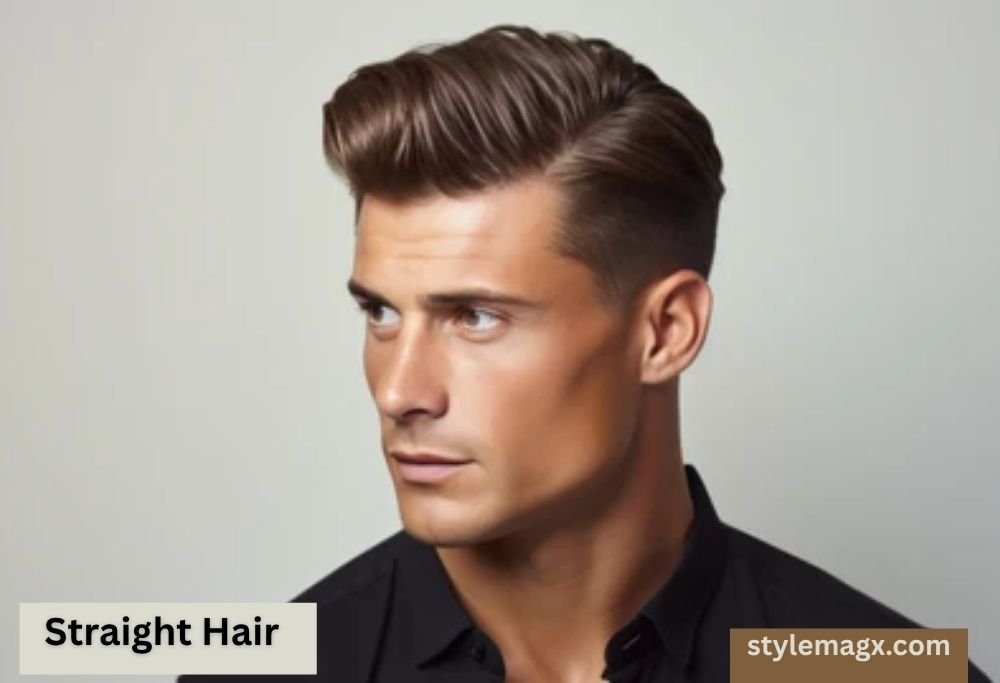
Straight hair takes to a middle part haircut for straight hair setup easily. Matte clay after blow-drying gives structure without shine, and sea salt spray on damp hair adds extra grip if you want texture. Air-drying works in a pinch, but you’ll lose roughly half the volume compared to a proper blow-dry, so this route suits lazy mornings more than big occasions.
Wavy Hair
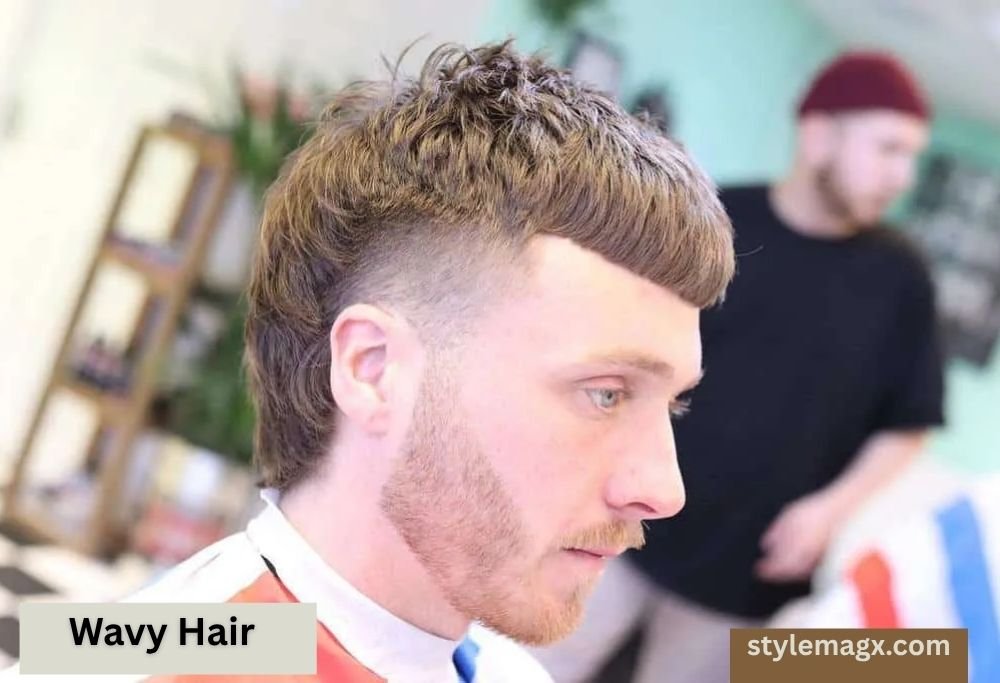
A middle part haircut for wavy hair needs a gentler touch. Apply sea salt spray to damp strands, scrunch upward, then diffuse on low heat or let it air-dry naturally. Skip the round brush here since it tends to drag the wave pattern out. Save any texture clay for just the ends, keeping the roots soft and natural.
Read More About: Best Haircuts for Men with Thin Straight Hair 2026 Guide
Curly Hair
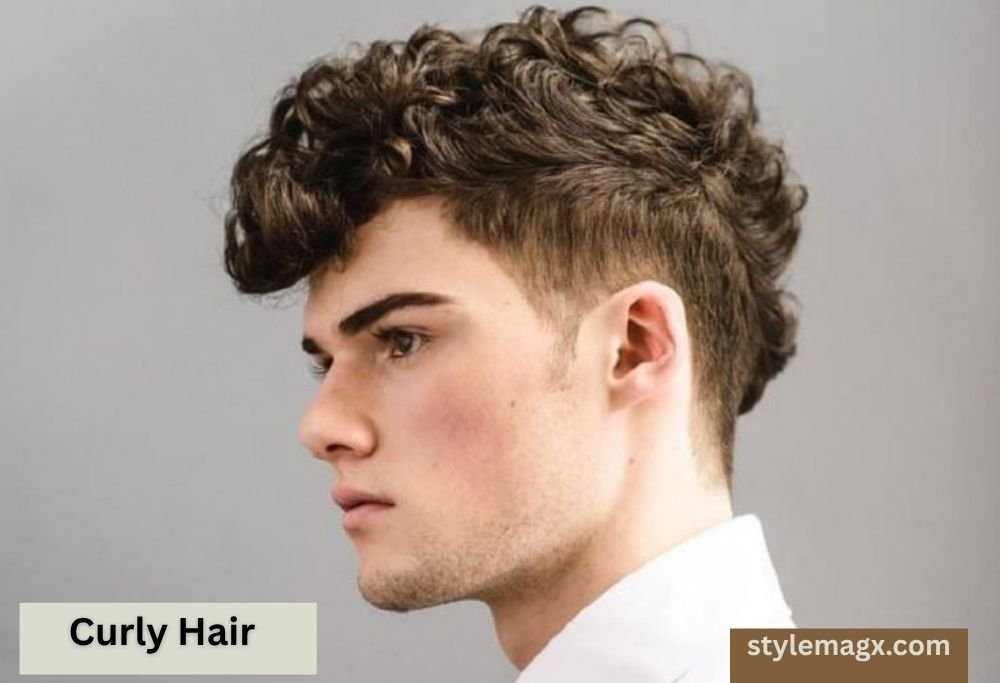
Curl cream goes on soaking wet hair, and you should part while it’s still wet, not damp. Diffuse on low heat and never brush once it’s dry, since that breaks up your curl pattern completely. The part line will look softer on curls than on straight strands, and that’s completely normal, not a sign of a bad cut.
What Should You Tell Your Barber for a Middle Part Haircut?
Vague requests get vague results. Walk in with specifics if you want your men’s middle part haircut to actually work. Start with length: tell your barber exactly how many inches you want on top, enough for the fringe to fall past your eyebrows once parted.
Then cover the sides. A middle part haircut with fade needs a clipper number, while a middle part haircut with taper uses a scissor blend instead. Mention layered haircut details too, since layered middle part styles need movement built in during the cut. Add whether you want tapered sides or faded sides, and bring reference photos from the front and side. Skip the texturising conversation and thick, heavy hair sits like a bowl over your part instead of falling naturally.
How Do You Train Your Hair for a Middle Part?
Your hair has muscle memory. Years of parting one way means your roots resist a new direction at first, so retraining takes daily repetition. Every time you wash or wet your hair, part it centrally and blow-dry into place. Non-crease clips at the part line speed this process along nicely.
Add a night routine too. Dampen your roots before bed, part down the centre, and clip in place while you sleep. Repeat this for about a week, and you’ll notice your hair falling into position faster than daytime drying alone. Give it two to three weeks of consistent effort, and your middle part hair should start holding on its own. If a stubborn cowlick keeps fighting you, shift the part one centimetre off-centre instead. You’ll get a nearly identical look with far less daily struggle.
Can You Get a Middle Part Without a Blow Dryer?
Yes, you can skip the heat entirely. Comb wet hair straight back, then use a fine-tooth comb to create your centre part. Pin both sides with non-crease clips and let everything air-dry fully before loosening and shaping with your fingers.
This heatless approach works best on wavy hair and curly types, since their natural texture holds shape without much help. Straight hair tends to fall flat without that blow-dry volume boost, so don’t expect the same crisp finish. The trade-off is fair though: less heat damage, a softer overall shape, and a natural finish that some guys actually prefer over a styled look.
Read More About: 18+ Surfer Haircut for Men Best Styles To Try in 2026
Common Middle Part Mistakes to Avoid
Plenty of guys sabotage their own middle part hairstyle without realizing it. Pointing your blow dryer airflow upward is one of the biggest offenders, since it roughens your cuticle and lifts roots the wrong way. Always aim the nozzle down the length of the hair instead, moving from root to tip on both sides.
Overloading on product ranks close behind. Your curtains should swing naturally when you turn your head, and stiff, crunchy strands mean you’ve gone overboard. Parting on dry hair causes issues too, since it resists a new direction compared to damp strands fresh out of the shower. Using a flat brush instead of a round one flattens your roots against the scalp rather than lifting them, so double-check your tools before you start.
How to Fix Common Middle Part Problems
Even a good cut runs into snags sometimes. Growth patterns, cowlicks, and everyday habits can throw off your center hair part without warning. The good news is that most fixes take just a few extra minutes of technique, not a whole new haircut.
Below, you’ll find solutions for the six problems that come up most often. Work through whichever one matches your situation, and you should see results within a wash or two.
Cowlick at the Front Hairline
Your hair pushes in one direction and resists the centre split completely. Blow-dry against the cowlick’s natural direction while your hair is still very wet, not just damp, since dried hair locks into the wrong shape fast. A heavy hold spray right at the root helps too. If nothing works, try an off-centre part that works with your growth pattern instead of fighting it head-on.
Widow’s Peak
A V-shaped hairline throws off your starting point for a center part haircut. If your peak sits dead-centre, it actually helps by acting as a natural guide. If it pulls to one side, blow-dry outward from the peak in both directions, and let a slightly longer fringe hide any leftover asymmetry.
Flat or Limp Results
Flat hair with no lift usually comes down to technique, not your hair type. Use your round brush at the roots while blow-drying to pull hair away from the scalp. Texture powder adds volume afterward without looking like obvious product, and if you’re using heavy pomades or gels, swap them for a matte clay instead since they tend to weigh curtains down.
Part That Won’t Stay in Place
If your part disappears by midday, you’re probably not spending enough time drying right at the part line. That’s where hold matters most, so linger there a little longer than feels necessary. A light hairspray at the roots, combined with a non-crease clip during drying, forces the part to set properly.
Uneven Sides
Asymmetry usually traces back to your natural growth direction rather than a bad cut. Blow-dry your weaker side first while it’s at its wettest, since wet hair takes new direction more easily than a side that’s already started drying. Always mirror-check before applying any product, so you can catch and fix unevenness while it’s still adjustable.
Frizz Along the Part Line
Flyaways along the centre are common, especially in humid weather. Wrap a scarf tightly around the part line for two to three minutes after blow-drying, since this presses everything smooth and lays flyaways flat. A tiny bit of styling cream, smoothed along the line with your fingers, controls whatever’s left without flattening your overall volume.
Frequently Asked Questions
Does a Middle Part Damage Your Hair?
The part itself doesn’t cause any damage on its own. Daily blow-dried hair without protection does, though, so use a heat protectant spray if you’re styling every day. Keep your dryer on medium heat rather than high, and you’ll avoid most of the wear and tear altogether.
Can You Get a Middle Part With a Receding Hairline?
It really depends on where the recession sits. A centre part draws attention to the middle of your forehead, which works fine if your temples are receding instead. If your front hairline is thinning right at the centre, a textured fringe or side part usually hides it more effectively.
Does a Middle Part Make Your Face Look Longer?
It can, especially on already long or oblong face shape types, since the vertical part line extends the visual line downward. Round and square faces tend to suit this style better, as the centre split adds structural balance instead of exaggerating length.
How Often Should You Wash Your Hair With a Middle Part?
Every two to three days works well for most hair texture types. Washing daily strips the natural oils that give your curtains movement and shine. On non-wash days, just re-wet the part line with a spray bottle and blow-dry briefly for a quick refresh.
Does Sleeping Ruin a Middle Part?
It can flatten one side overnight, especially if you sleep on your face or side. A satin pillowcase reduces friction significantly and helps your part survive until morning. Once you wake up, re-wet the roots along the part line and blow-dry for about thirty seconds to reset everything.
Can You Swim With a Middle Part?
Chlorine and salt water both strip your styled shape by the end of the day. Rinse your hair with clean water before swimming, since pre-soaked hair actually absorbs less pool water overall. Afterward, re-wet, re-part, and blow-dry once you’re done, or wear a swim cap if you’re swimming regularly.
Final Thoughts
Getting a middle part haircut right comes down to three things: enough length, the right technique, and patience while your hair trains into place. Skip any one of these, and you’ll end up frustrated with a style that looks great in photos but falls apart by noon.
Stick with the steps here, and your men’s middle part should start holding on its own within a few weeks. Whether you’re going for sleek middle part perfection or a more messy middle part vibe with textured layers, the fundamentals stay the same. Give it time, stay consistent, and enjoy the results.
Ryan Carter is a men’s hairstyle and grooming writer who shares the latest haircut trends, styling ideas, and practical tips to help men find a look that suits their style and personality.